Self-Signed Certification Creation and Binding for Sandbox Environment
A self-signed certificate is a certificate that is signed by the entity creating it rather than a trusted certificate authority. The development and test servers can be enabled with self-signed certificates in order to reduce the certificate cost and also the management expenses, while enabling encrypted communication over HTTPS.
Create Self-Signed Certificate
- Open ‘Internet Information Services (IIS) Manager’
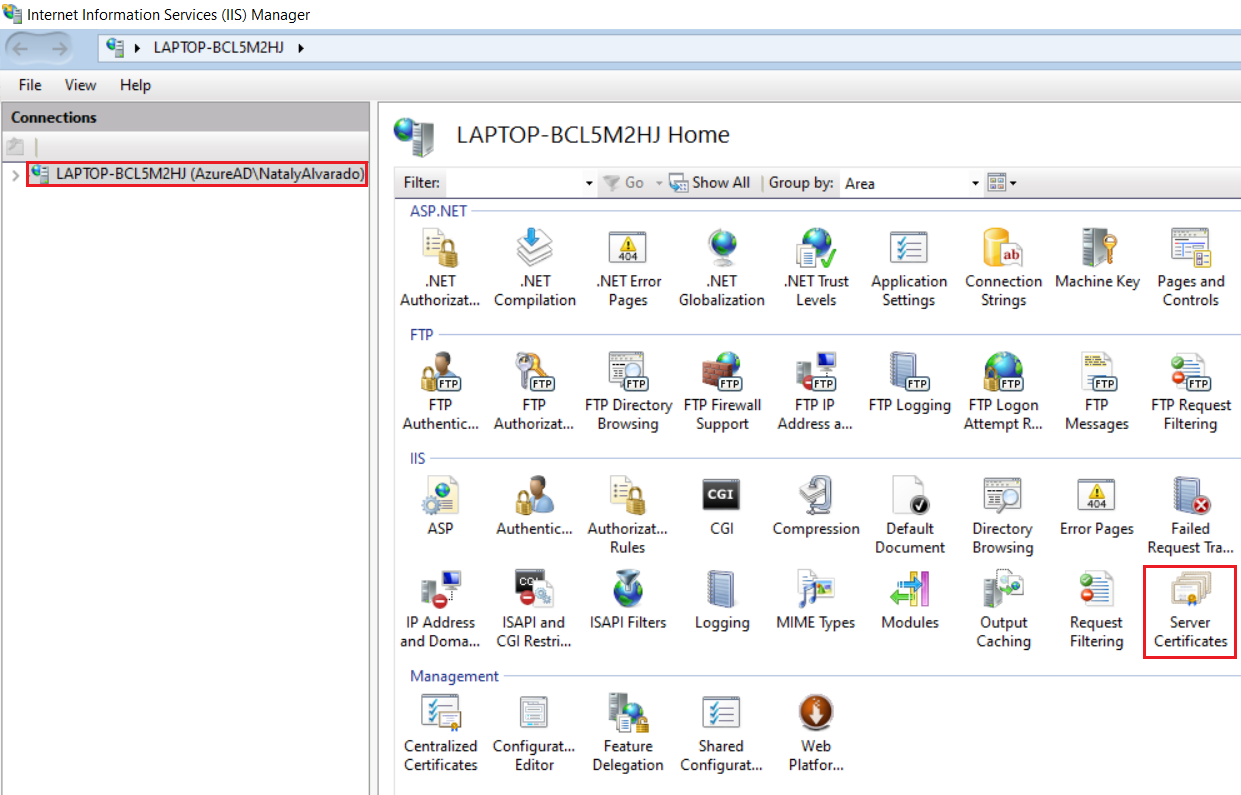
- Select the local machine and open ‘Server Certificates’ by double-clicking the icon
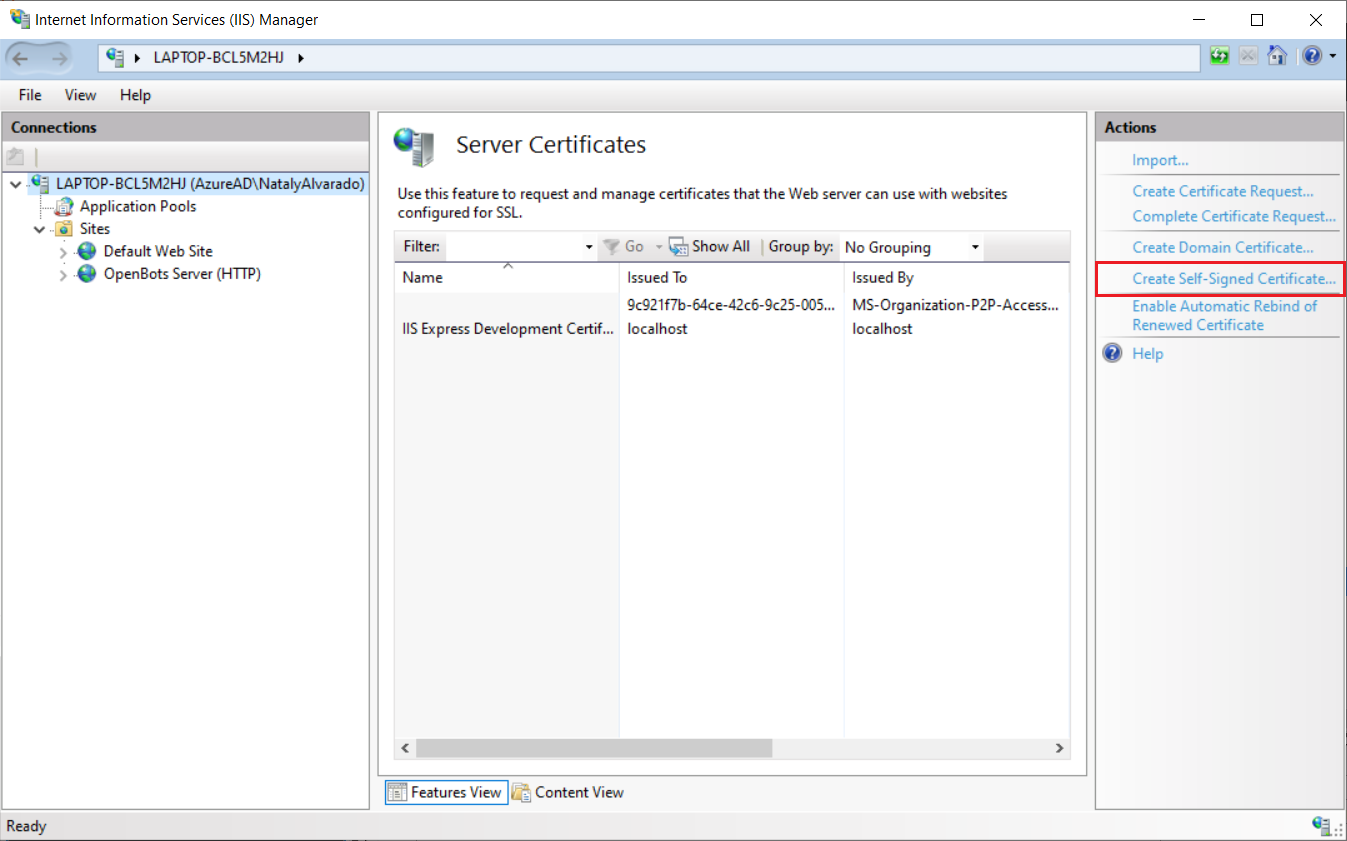
- Click ‘Create Self-Signed Certificate’
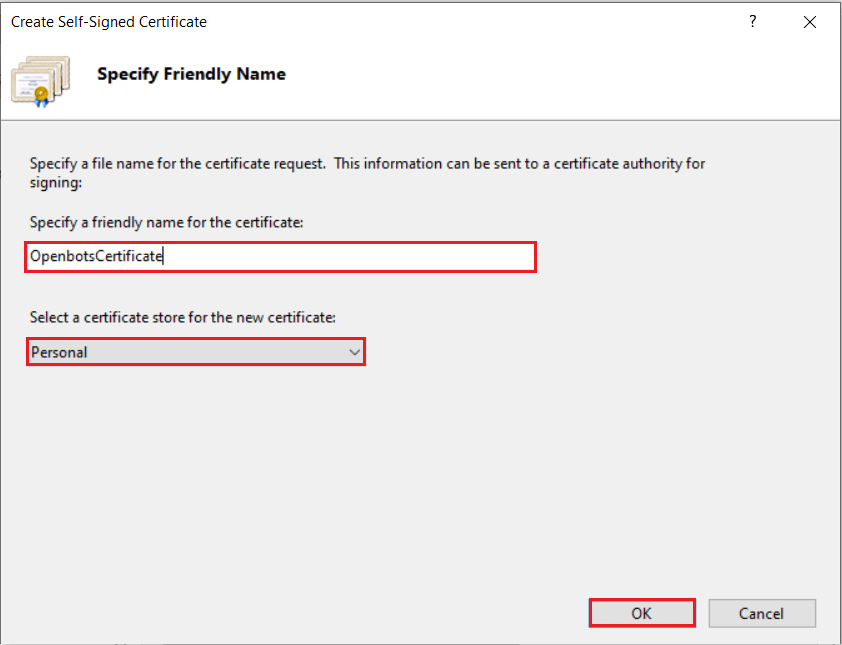
- Specify the certificate’s friendly name and select “Personal” as the certificate store
- The newly created certificate will be listed in the Server Certificates page
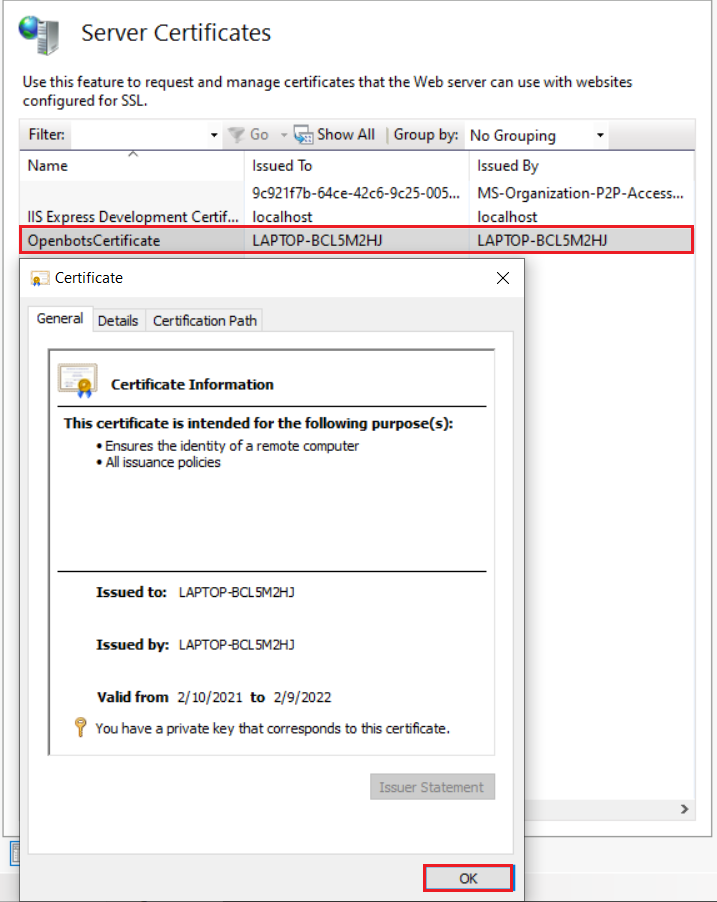
*The IIS server now contains the certificate, which is used by the Robots to communicate with OpenBots Server securely.
This SSL certificate has to be exported on each machine or VM connected to the robot.
Export Self-Signed Certificate
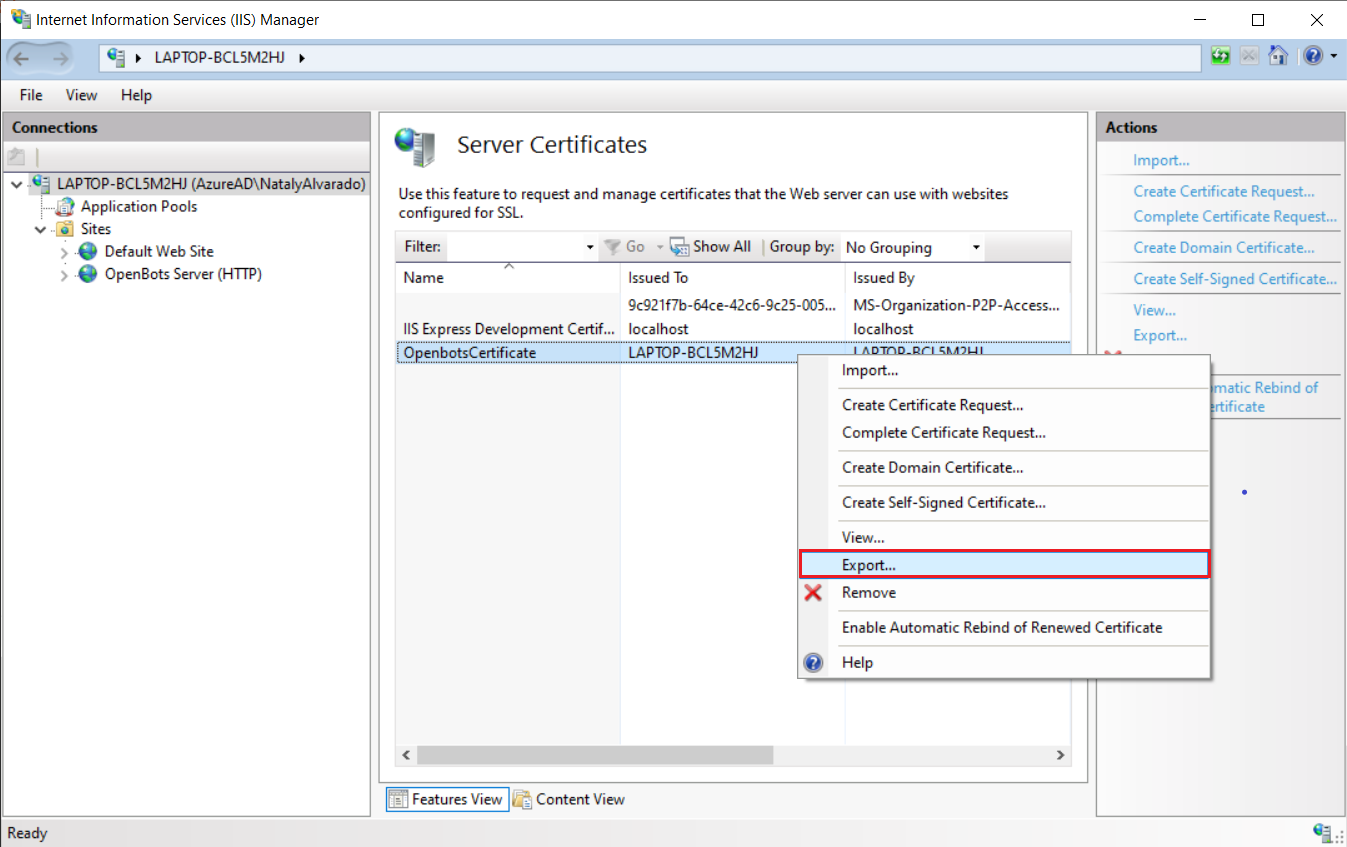
- Right click on the previously created OpenBots Server certificate and click ‘Export’
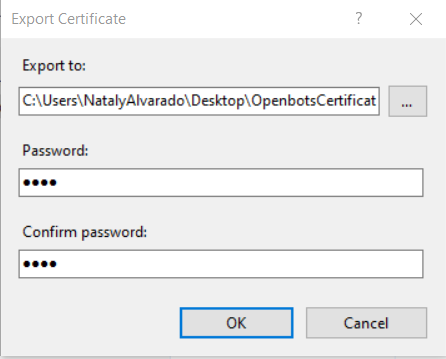
- The ‘Export Certificate’ window pops-up. Indicate the path and password under which the certification will be saved.
The password will be needed when importing the created certificate
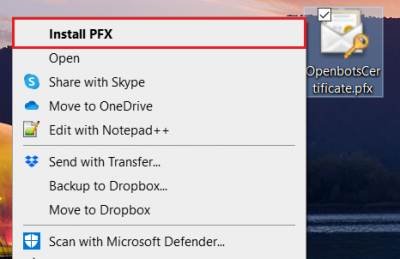
- Right-click the certificate located on the previously indicated path and select ‘Install PFX’. User must have Admin rights to accomplish this task
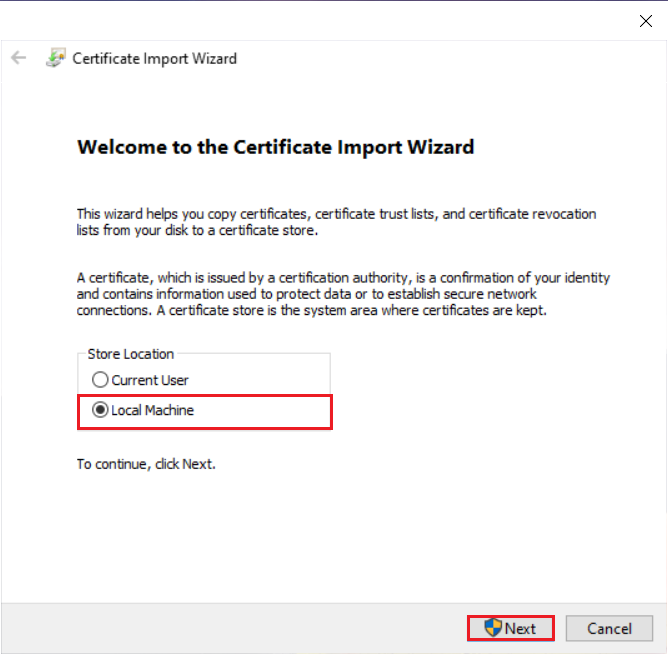
- The Certificate Import Wizard pops-up. Select ‘Local Machine’ and click ‘Next’
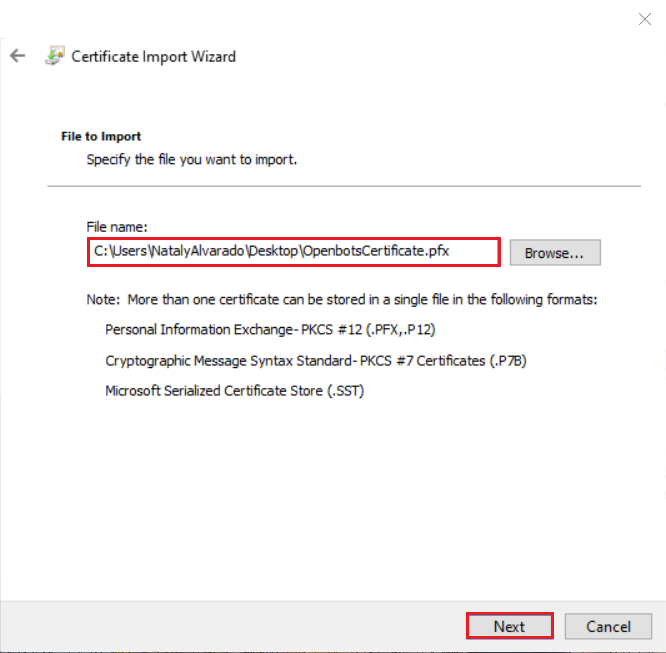
- Indicate the file that will be imported. In this case the OpenBots Server Certification. Click ‘Next’
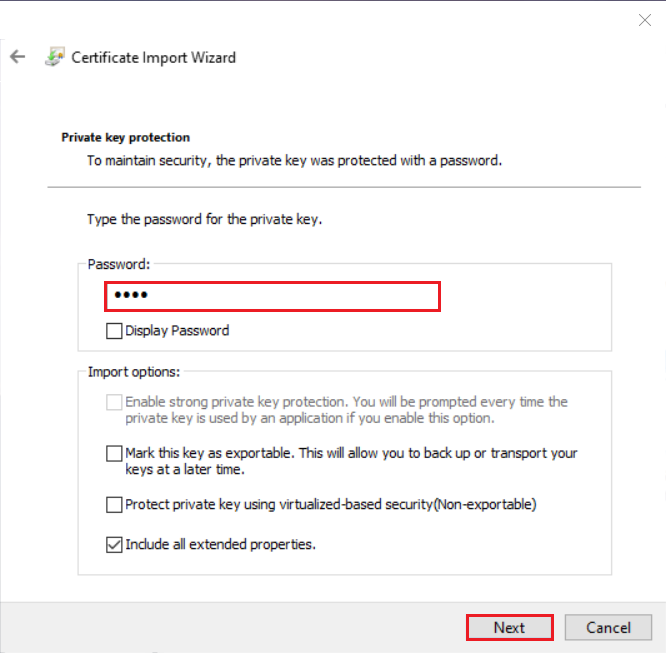
- Type the password indicated at the moment of creating the certification
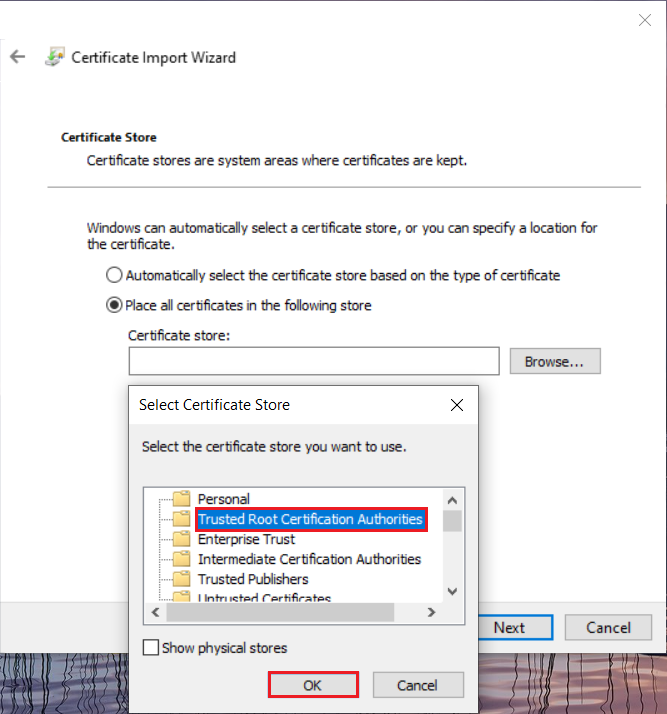
- Place the certification in the ‘Trusted Root Certification Authorities’ folder. Click ‘Next’ and then ‘Finish’
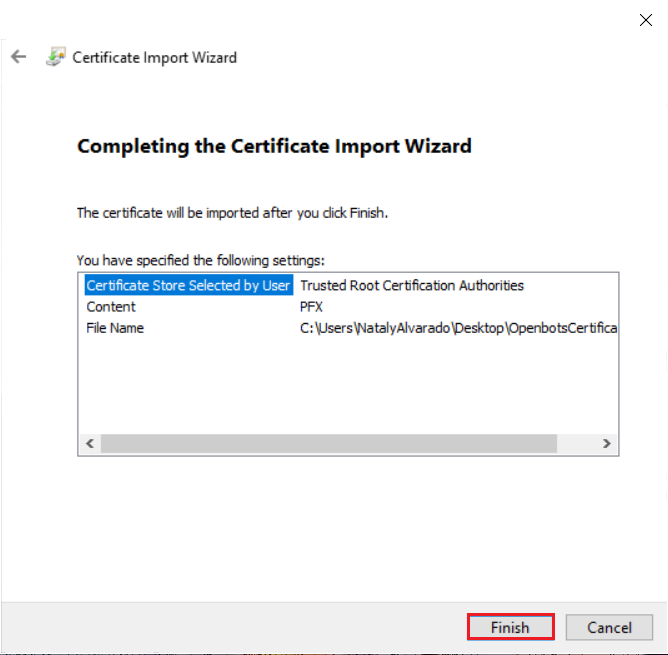
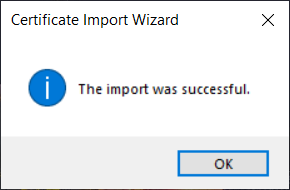
The following window indicates that the import was successful
Bind server to HTTPS
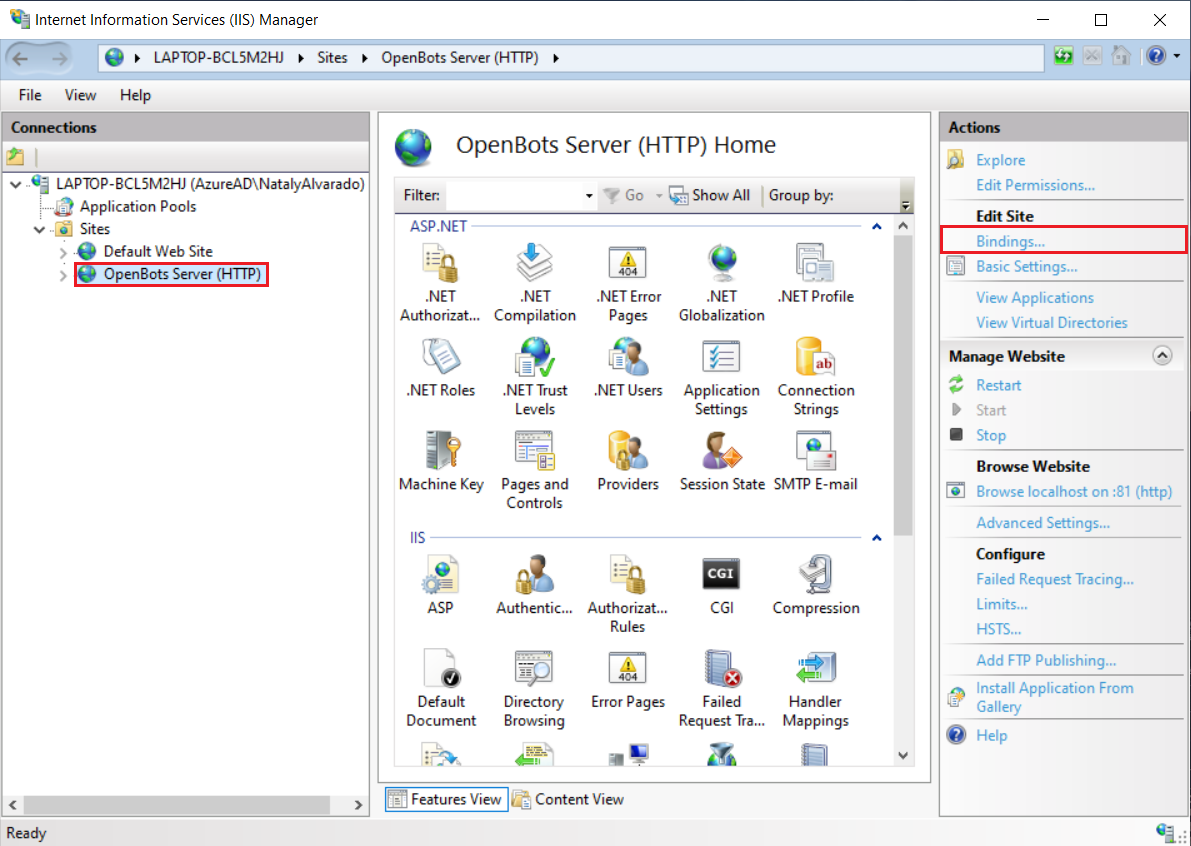
- Open ‘Internet Information Services (IIS) Manager’. Select the OpenBots server and click ‘Bindings…’
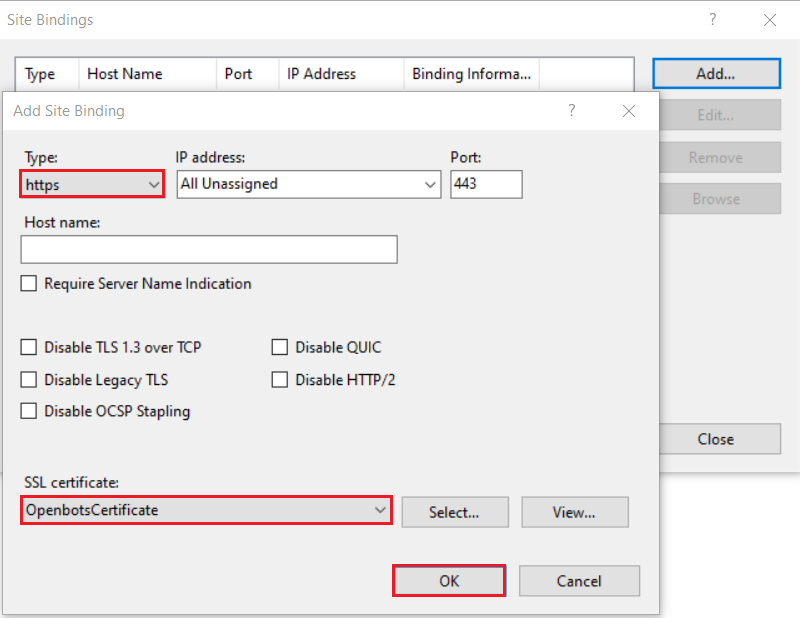
- The ‘Site Bindings’ window opens up. Click ‘Add’, in the new window indicate ‘https’ and the binding type and the previously created certificate as the ‘SSL certificate’.
Indicate any custom information as needed. Click ‘OK’
Note:
If no ‘Host Name’ is defined, the server can be accessed through the current machine name.
For example, the sampled binding could be accessed through the following URL: https://LAPTOP-BCL5M2HJ
