Objective
The objective of this How-To guide is to create and open an Excel workbook in OpenBots. Most processes require utilization of Excel to load or update data according to the project’s specific requirements. OpenBots enables the user to create an instance of Excel and use it to call or access a specific Excel file throughout the entire process.
Walkthrough
The following are the steps involved in creating and opening an Excel workbook in OpenBots. It is a procedure that involves click level operations from the Excel command list.
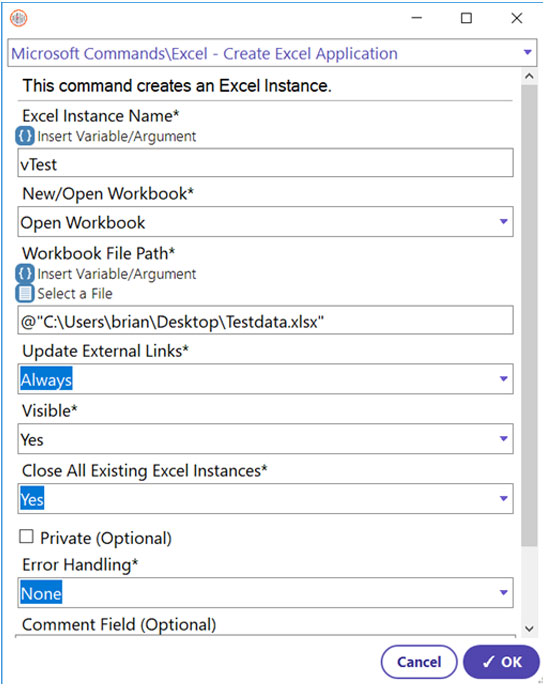
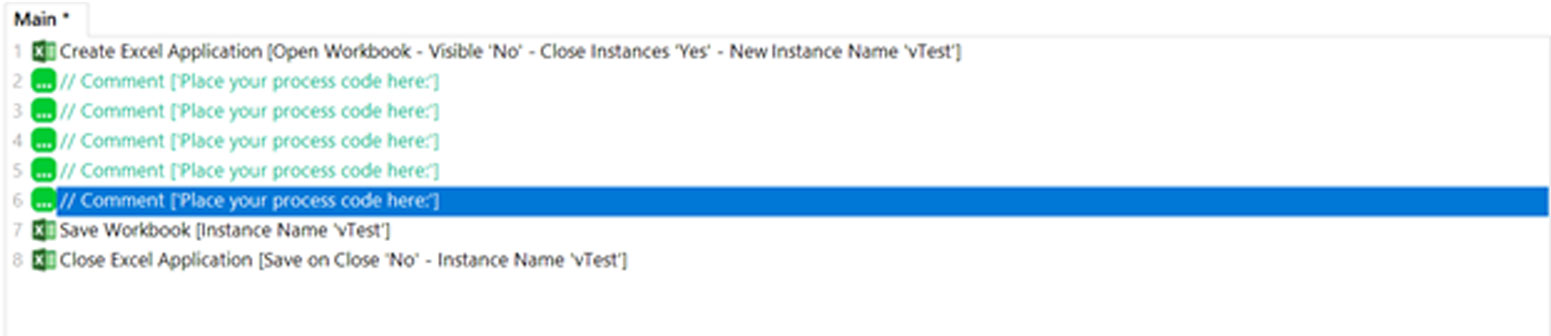
Step 1: To access an Excel file throughout the entire process, a global instance must be created first so that automation can differentiate between different Excel windows (if multiple are created). The Create Excel command helps in performing this task.
  • Select Create Excel Application Command
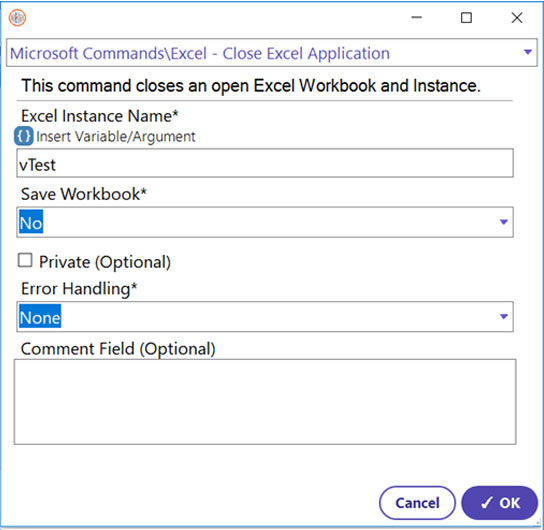
  • Create a new ‘OBAppInstance’ type variable for the Excel Instance name (This variable will be used to identify the Excel file opened by this command) (Example: vTest)
  • Select Open Workbook Command (If a blank Excel sheet is needed, the New Workbook command can be used to create one instead)
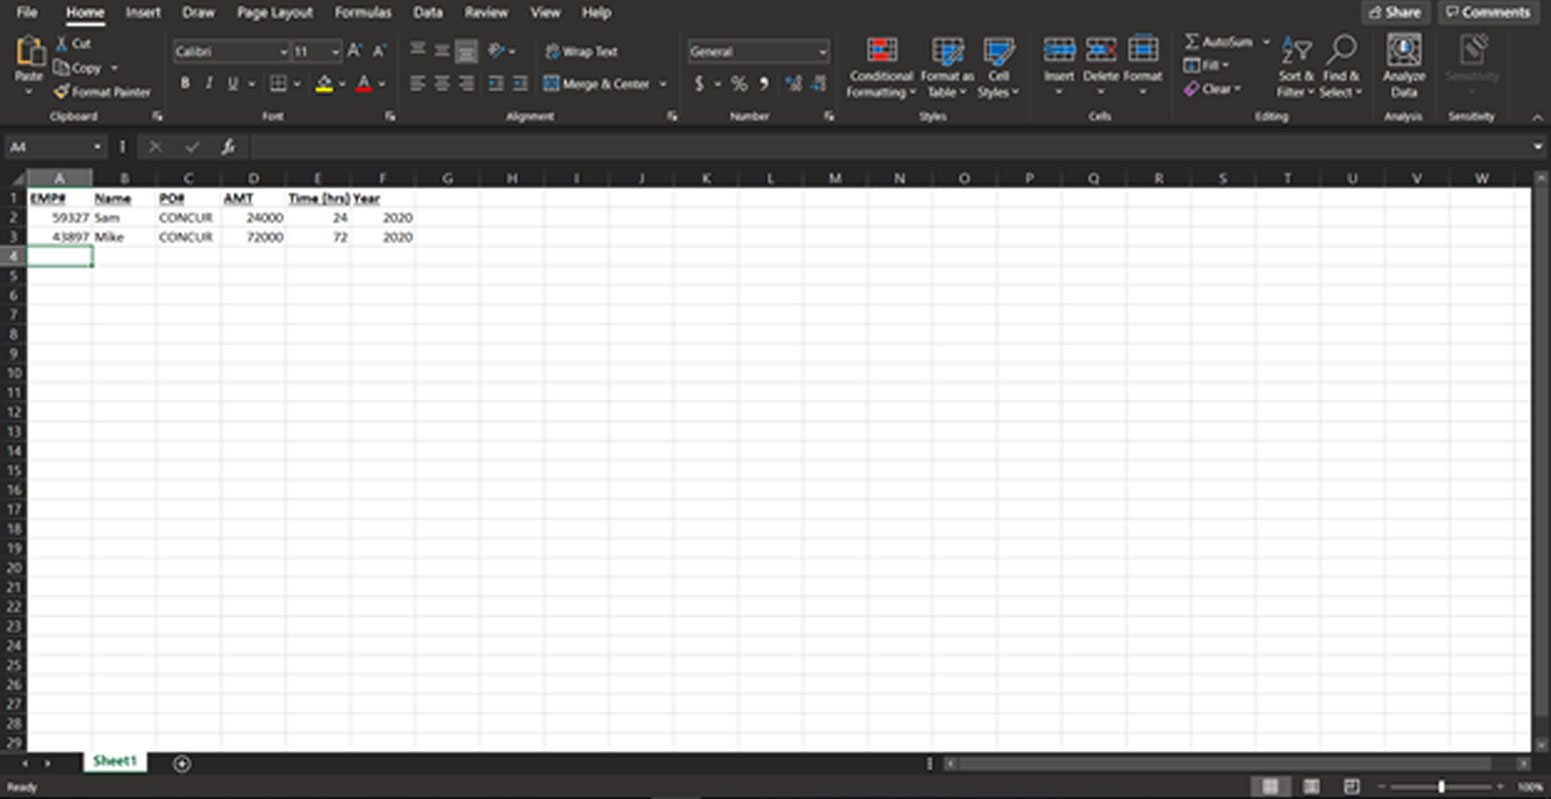
  • Click the ‘Select A File’ button and select the file to be opened (must have the .xlsx extension)
  • Select the visibility criteria (Yes, to make the Excel operation visible during process execution) (No, to run it in background)
  • Select whether to close all existing open Excel instances/files (User choice) (Example: No)
  • Click OK
The output of this command will provide the user with the file selected.
Step 2: Once a file has been opened and edited (editing the workbook itself will be discussed in the Semi-Complex Excel Command Guides), it is ready to be saved. The Save Workbook command will save the workbook with its pre-existing name (this command should be used only if you have opened a pre-existing workbook, otherwise use the ‘Save Workbook As’ command to save newly created files).
  • Select Save Workbook Command
  • Enter the Excel Instance name (OBAppInstance variable created before) (Example: vTest)
  • Click OK
Step 3: The user might want to save the file as an edited copy of the original, or might be trying to save changes made to a newly created file. This command will save the file under a new name in a different specified folder.
  • Select Save Workbook As Command
  • Enter the Excel Instance name (OBAppInstance variable created before) (Example: vTest)
  • Select the folder to save the new file within.
  • Type the desired name of this new file (Practice.xlsx)
  • Click OK
Step 4: Once the process has been completed, the Excel instance must be closed using the Close Excel Application command. It is important to close these instances to avoid errors caused by the file already being open when the process is executed. An error will occur if the file is already open when the process is run.
  • Select Close Excel Application Command
  • Enter the Excel instance name (Example: vTest)
  • Select to save the workbook before closing or not (Only works when you opened a pre-existing workbook)
  • Click OK
All the commands in this guide can be utilized alongside many of the other commands that will be discussed in later guides. Below is a snapshot containing most of the commands used to create and access an Excel file in this guide.
Commands utilized for the above concept (Creating & Accessing Excel) are as follows:

Excel Commands: Create Excel Application, Save Workbook, Save Workbook As, Close Excel Application

Newsletter Bot

Lets stay in touch!

Join our weekly newsletter and follow us on social media.

Contact Sales
Call Our Experts!